Skip to content
Mark Your Pages
Freebies
Discount Codes & Links
Contact
Newsletter
Planner Pals Podcast
About Me
Tag:
Bullet Journal
3 Ways to get guys interested in journaling. Or anyone who is unsure how to start.
Jan 26, 2025
How to Set Up Your Bullet Journal for the New Year: A Quick Guide
Nov 18, 2024
Preparing for a New Bullet Journal: Your Guide to a Thoughtful Migration
Nov 11, 2024
10 Hand-Drawn Fonts to Jazz Up Your Bullet Journal and Planner
Nov 8, 2024
Lettering
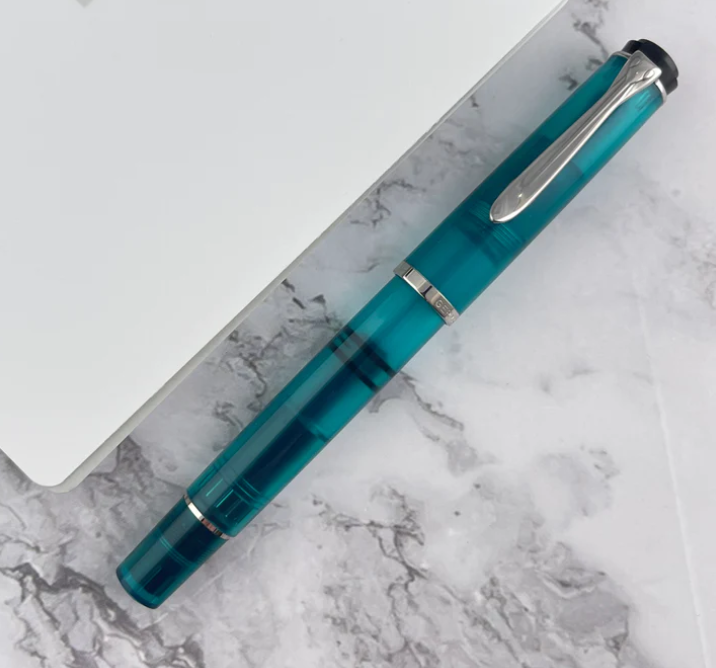
My Haul From The DC Pen Show – 2024
Aug 23, 2024
fountain pen
6 Reasons To Start A Bullet Journal Today
Mar 13, 2024
My At Home Studio Tour
Feb 15, 2024
My 7 MUST HAVE items for a new Bullet Journaler
Jan 9, 2024
Learn How To Start a Bullet Journal Today
Nov 22, 2023
My 2024 Bullet Journal Setup
Nov 16, 2023
Setup
1
2
3
…
6
Next
→
Loading Comments...
Write a Comment...
Email (Required)
Name (Required)
Website