

As the year winds down, it’s time for one of the most exciting bullet journal rituals: preparing to migrate to a fresh journal for the new year. This process allows us to reflect, refine, and intentionally decide what we want to carry over. Let’s walk through the steps to set up your next journal with a collection page focused on wants, needs, and the things you are ready to leave behind.
Step 1: Create Your Migration Collection Page

To start, set up a collection page in your current bullet journal dedicated to this migration process. Divide your page into three sections:
- Wants: Features you’d like to see in your new journal.
- Needs: Essentials you can’t go without.
- Don’t Want: Things you will leave behind.
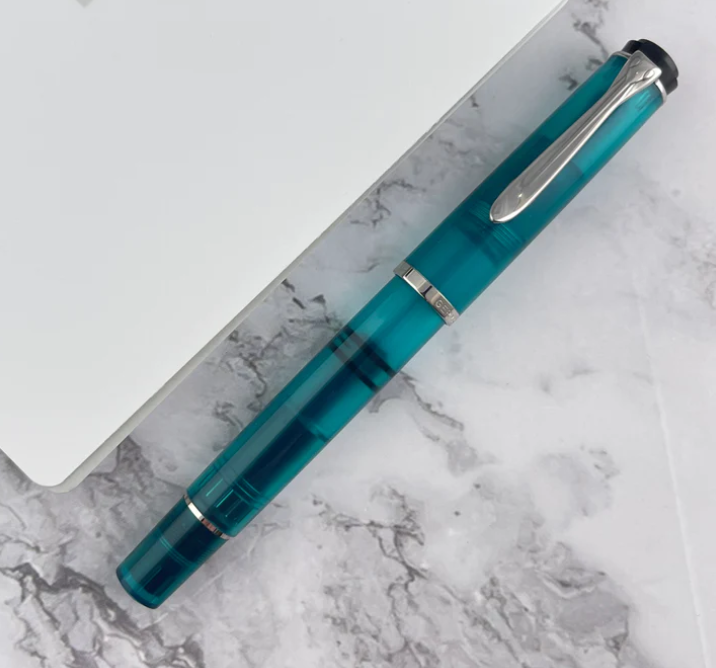
Use your favorite writing tools to set up this page. For a little inspiration, consider using something special, like a glass dip pen or your favorite ink, to make this process even more fun.
Step 2: Identify Your Wants

Your “wants” are items you feel would improve your journaling experience. Examples might include more space for future planning, more room for notes, or specific layouts, like trackers for celebrating small wins. Reflect on what elements you’d like to enhance or add to help make your bullet journal more effective and rewarding.
Step 3: Identify Your Needs

“Needs” are the non-negotiable essentials that make your journal functional and enjoyable. Think about your top three to four must-haves. Some examples might include thick paper that works well with fountain pens or stamps, designated calendar pages, or specific layouts for tracking important goals.
Step 4: Clarify What You Don’t Want

Reflect on what didn’t work for you this past year. Perhaps you’re ready to say goodbye to ghosting on thin paper or avoid excessive text or quotes that might clutter your pages. Knowing what you don’t want can help you choose the right journal and avoid layouts or styles that don’t serve your needs.
Step 5: Choose What to Migrate and What to Leave Behind

Now, take a look through your current bullet journal. Decide which collections and layouts you want to bring into the new year and which ones you’re ready to leave behind. If certain pages, like a future log, didn’t get much use, consider skipping them or modifying their layout to better fit your habits. Essential elements—like yearly goals, helpful collection pages, and weekly spreads—can be recreated in the new journal.
Step 6: Choose Your New Journal Thoughtfully

Once you’ve identified your wants, needs, and don’t-wants, it’s time to find the perfect journal. Look for one that matches your preferences and meets your criteria for quality and functionality. Check out reviews if you’re uncertain, and remember that this journal will be your companion for a year—make sure it feels right! I have 4 journals that I am recommending for the new you in this video.
Step 7: Set Up Your New Journal with Intent

Once your new journal is in hand, start migrating the essentials. You might want to set up major pages or collections first to create a familiar foundation, or simply take it page by page. You can leave your old journal nearby for easy reference, especially if you often look back at notes or details as you work on new projects.
Bonus Tip: Use a Template or Printable

For a little extra help, try using a template for your migration page. Print it out, paste it into your journal, or use it as a reference as you build out your new setup. Templates can make this transition easier and ensure you don’t miss any important steps. You can download a free worksheet from MarkYourPages here.
Ready to Migrate?
Migrating to a new bullet journal isn’t just about organization—it’s a chance to reflect on your progress, refine your system, and set yourself up for a successful year. Embrace this process as a ritual of intentionality, and enjoy the journey into your new planner or journal. Check out the process and Planning Journal video below for step-by-step instructions.
Let me know if these tips helped you prepare, and happy journaling!


Leave a Reply